
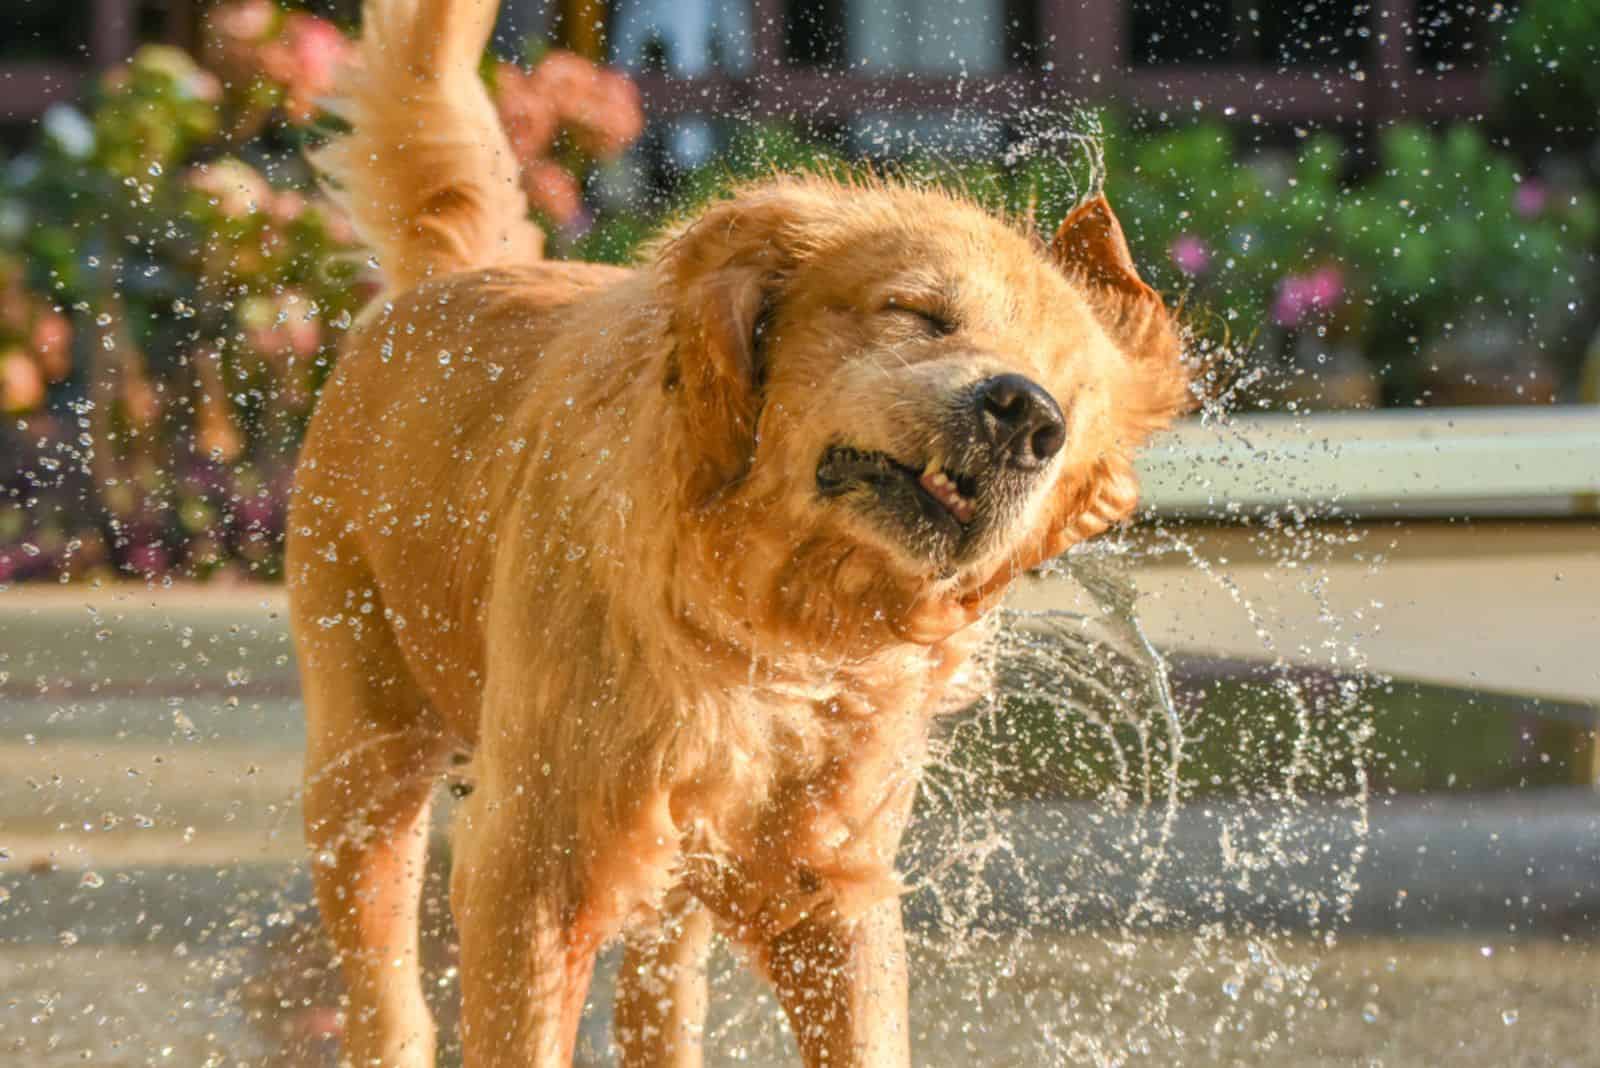
How do you teach a dog to shake? Why do dogs like shaking in the first place? Is it difficult to train a dog at home?
So many questions, so little time!
But, first thing’s first… Let’s teach you how to shake hands, I mean paws, with your four-legged buddy!
Shaking is a lovely new trick that every dog likes to learn because he knows there’s more waiting for him behind that verbal praise. Dog treats! Oh, the things they’d do to get them!
How about we shake paws and get straight to business?
How To Teach A Dog To Shake? Is It Too Hard?
You can teach a dog to shake in only a couple of simple steps. It really isn’t something too difficult, and with our training tips, you and your Fido will master this training class in no time. Shaking is a fun trick that will make your pup the star of any neighborhood. And, that’s just one of the reasons why dogs are better than cats!
If you’re really warmed up to the idea of training a dog at home, then you should definitely stay tuned and keep on reading. We even have a pretty useful video down below.
Step 1: Here’s What You’ll Need
Before you start teaching your dog today’s lesson on shaking its paw, you must gather a few things that will definitely help you. The most important thing you’ll need is patience. Okay… some understanding and encouragement, too.
You can’t start any training lesson without being prepared that it might take time for your dog to catch your drift. Just as your pup needs positive reinforcement, you need patience, too. Some dogs learn slower than others, and that’s completely fine. It all depends on their breed and the level of canine intelligence they possess.
The most important thing is not to lose your nerves and yell at your dog. Show him you’re there for him and ready to teach him for as long as it’s needed.
As for the items you can actually see and touch…
You’ll also need your dog’s favorite treats as motivation, along with a clicker. I find clickers pretty useful, and I recommend it for every beginner dog trainer.
Now that you have everything by your hand, it’s time to start teaching!
Step 2: Have Your Dog Sit Down
Okay, now I’m supposed to teach my dog to sit, too?
Well, that’s not quite right. You see, learning to sit on command is one of the first lessons your dog learns as a puppy. So, it’s natural to have them in a sitting position while trying to teach them how to shake hands. You gotta learn to walk before you run, right?
There’s actually another pretty valid reason why putting your dog in the sitting position is the foundation of teaching him to shake.
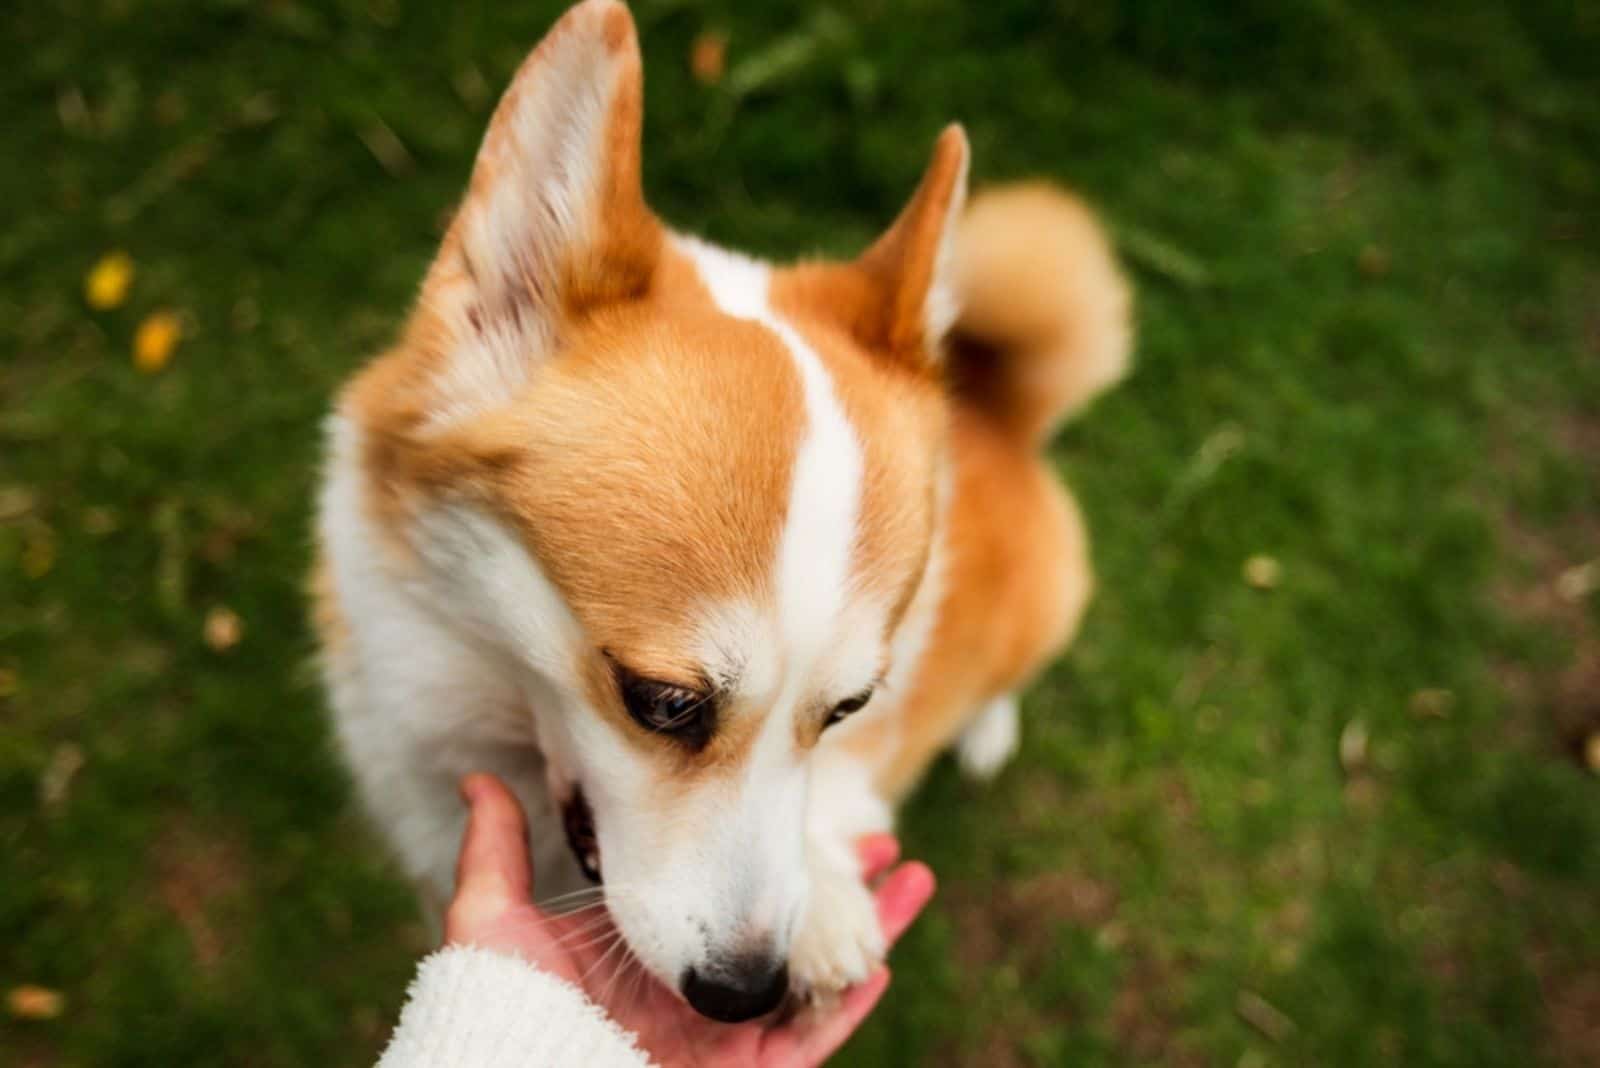
Every dog shakes hands in the sitting position. Have you ever seen a dog shaking hands while standing up? That’s not quite right, isn’t it? Dogs need all four legs to keep their balance; otherwise, they’ll stumble.
Now, ask your dog to sit. Once he does that, encourage this action by clicking the clicker or giving him praise. Experts call this marking. It’s important that your dog receives validation of their action as soon as he does this task nicely in order to realize he’s on the right track.
Step 3: Show What You’ve Got
I understand that you’ll be tempted to give your dog a treat as soon as he sits down, but that’s not really how things work. You shouldn’t actually give him the delicious treat just for doing something he already knows how to do. Instead, stick with praises like tummy rubs or encouraging words.
What you should do with the treat is show it to your dog, let him know you have it, and that he will receive it if he does something the right way.
Firmly grasp the treat and hold it out so your dog can sniff it for a brief moment. I always recommend you use his favorite treat. One sniff and he’ll be over the moon with joy, knowing there’s a yummy snack coming his way. Don’t let your dog grab the treat because that would mean you don’t have control over him, and everything could go down the drain.
Leave the best for the end, once Fido deserves it.
Step 4: Motivation
Hold on… don’t hide that treat immediately! We still have work to do, and I promise this step is crucial.
Now that your dog has acknowledged the fact that you have a treat, it’s time to stimulate him to do what we want: lift his paw and shake. Hold the treat in front of your dog’s nose – about an inch away – and slowly begin to move to one side, left or right… it doesn’t matter. What it does matter is to make sure your dog’s focus is always on the treat.
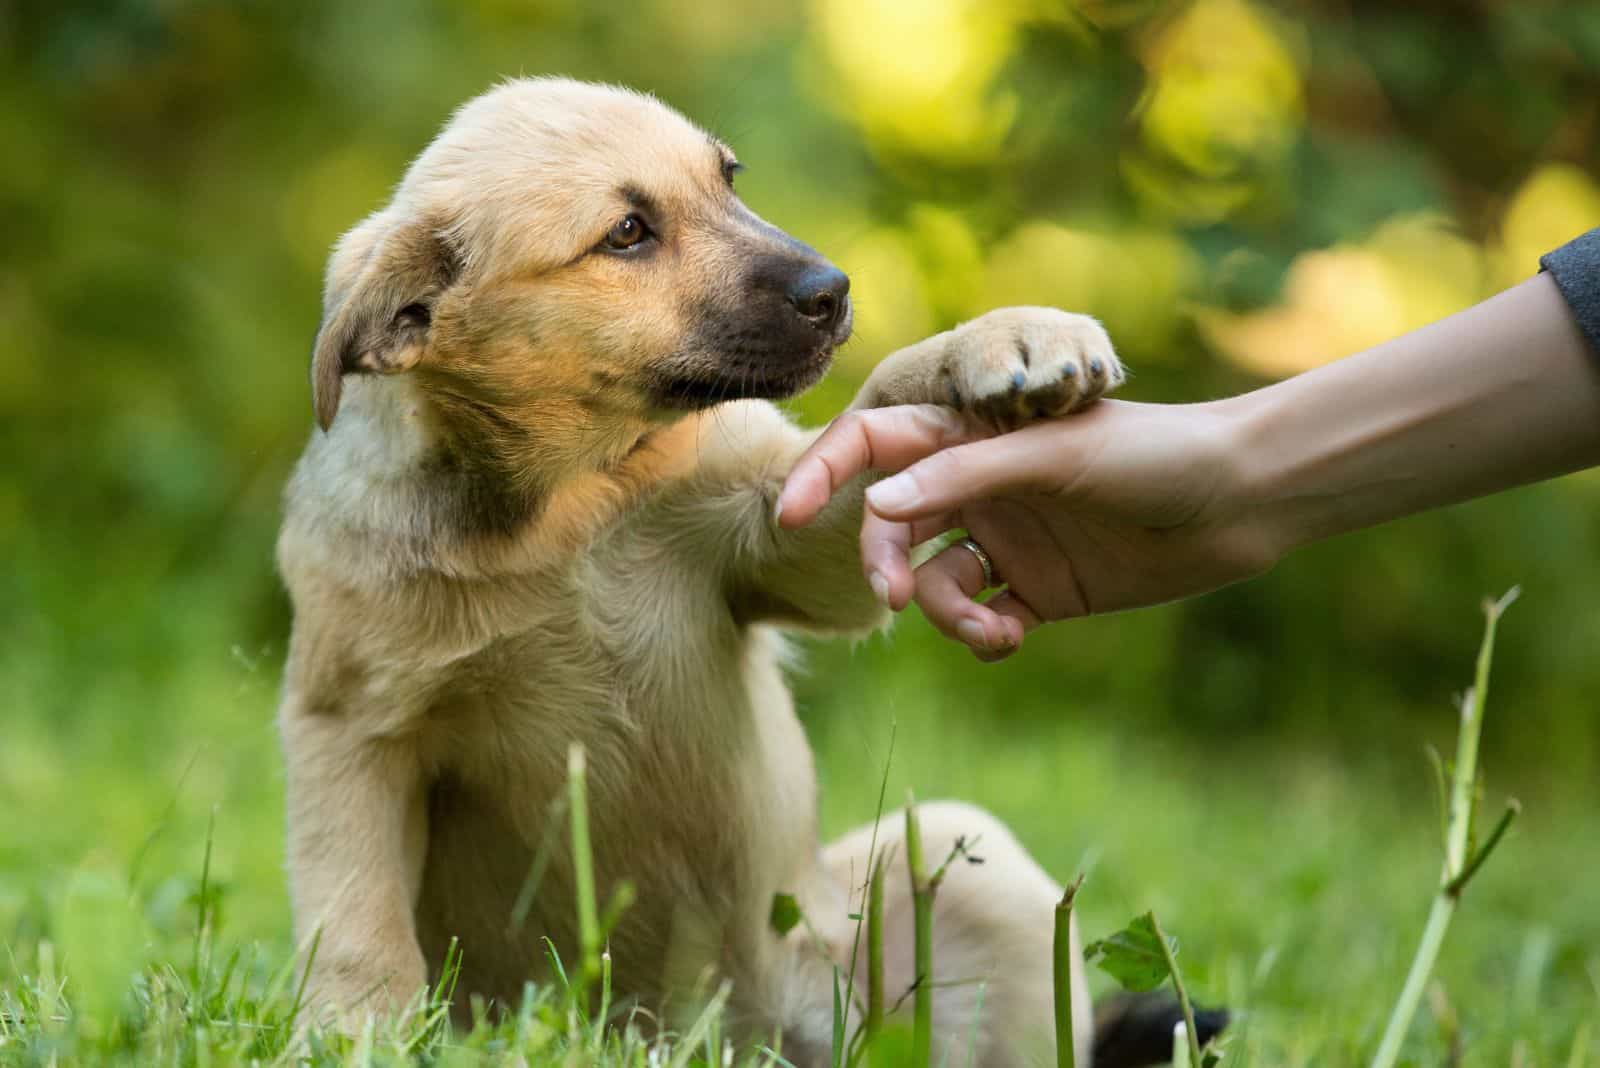
Repeat this for a while and you’ll notice that your dog will begin to lean in the same direction as you move the treat. As your dog leans, he will also lift up his front paw. Usually, the left paw calls for the right hand, and vice versa.
This is your sign! You should mark this action, preferably mark the same paw over and over again, and feed your dog the treat. Sooner or later, he will catch on that lifting his front paw is what’s expected from him.
Step 5: Now, Without The Treat
Treats are great, but in a moderate amount. If you own a rather not-so-intelligent dog breed, and your training will require lots of marking and repeating, then you shouldn’t use so many treats. That could make your dog dependent on them, and it will make him think it’s okay to perform a trick only if there’s a treat involved.
How about we try empty-handed now?
It’s basically the same way. Move your empty hand before your dog’s nose (to one side) and mark once he lifts up one of his front paws. Repeat this for a while. Once you believe your pup has mastered this task, you can feed him a small treat just for him to see there’s more to come if he behaves.
Moving your hand to the side will be a sign to your dog to lift his paw.
Step 6: Paws Up
Now, all we have to do is wait until your dog introduces higher raises.
Your dog will either lift his paw higher for balance or beg you to lower down your hand and let him have the treat.
As you can see, you will be expected to repeat the same procedure over and over again. I encourage you to slightly lift up your hand, too, but make sure your dog still sees it.
Mark the paw once it’s high enough, and wait with the treat until he raises it even more the next time. Your dog will realize that he needs to work a bit harder now before he gets that treat. This should serve as a good motivation to lift up his paws higher, and also bring your dog one step close to the ultimate paw shake.
Step 7: Aaand Shake!
It’s finally time to shake hands!
But, don’t just grab your dog’s paw and shake it like crazy. Introduce your shaking hand first. The hand you’re giving him the signal is, obviously, your signal hand. Place the shaking hand before your dog’s lifted paw, palms up. Repeat the shaking motion until your dog’s paw gently slides into your palm. And… shake!
It’s important to keep things as natural as possible. Don’t rush your dog into performing this action. Watch closely for any sign of discomfort. The most obvious one is definitely looking away and moving backwards. If you notice this behavior, back up and stop the lessons for the day. Start again tomorrow, repeating the last step your dog was comfortable with.
If your Fido is a little superstar, and he catches on quickly, you can start putting out the shaking hand even before you remove the signal hand.
Once your puppy’s paw is in your palm, you should reward him with a delicious treat.
I do want to warn you that you’ll definitely have to adjust your height according to your dog. So, don’t put out the shaking hand too high for your dog. Try to figure out what’s the most comfortable level for him.
Step 8: What’s Your Sign?
You thought that’s it? Oh, no… we still have one more lesson to finish. Were you aware that the command “shake” shouldn’t be used with a cue? You should actually teach your dog to respond to verbal commands – not just showing him your signal hand. But, how do you achieve that?
Don’t worry – the hard part is over.
People usually use standard words like “shake” or “paw” to initiate shaking hands. However, you can use pretty much any word or phrase you find adequate for this command. Doesn’t “paws up” sound cool? Pick any phrase you want, but keep it simple so your dog understands it.
For the sake of the simplicity of this article, let’s move on by using the word “shake”.
What you should do is keep on putting out your shake hand before your dog, this time either saying the phrase or the word “shake”. It may take a while for your pup to figure it out, but keep on repeating. Every time your pup does this task successfully, you should mark and reward him with a treat.
Sooner or later, you won’t need your signal hand anymore, and your pup will be great at shaking hands!
Now that we have everything written down, how about we see it in practice? Here’s a pretty nifty video I found on YouTube that might help you with teaching your dog to shake or give paw.
FAQs
How Long Does It Take To Teach A Dog To Shake?
The issue now isn’t how to teach a dog to shake; it’s how long will it take!
Training sessions are individual, and we can’t link a precise number of days. Generally, it shouldn’t take more than two weeks for any normal pup to finally master the art of shaking paws.
If you’re a fresh dog owner, and you want to see how dog training suits you, then you should know something before you start. Training takes time, and it needs repetition for better comprehension.
The basis of any great canine training are short and simple lessons. Some dogs have a bigger attention span than others, but that doesn’t mean you should experiment and push his limits. For example, Belgian Malinois are superstars at any training.
Keep the lessons around 10 minutes or so every day. Repeat them on a daily basis until you see your dog has mastered the lesson.
When Is It The Right Time To Teach A Dog To Shake?
Teaching your dog how to shake is a pretty basic command. Your closed hand goes back and forth, and your puppy’s mind is on the treat hiding there. Of course, he’ll do anything you ask of him to get the treat. That’s why the shake command can be taught very early.
Most dog owners get their buddies while they’re still in early puppyhood. The ideal time for simple tasks, such as the shake or the sit command is at the age of 8 to 10 weeks. Your new puppy is more intelligent than you think, and he can definitely handle some basic training.
I’d leave more advanced stuff for older age, after your pup steps into adulthood.
Can My Dog Learn How To Give High Five?
Of course, he can! Giving high five is just another dog trick in the book, just like teaching him to roll over.
Giving high five is a bit different from shaking paws, but the foundation is the same. Besides saying another verbal cue, you will also need to change the position of your signal hand… fingers facing up. This is the same as if you want to high five another human being.
Once your dog even slightly touches your hand in that position, you should mark and reward that behavior.
Introduce a phrase like gimme five, and in just a few short lessons, your buddy will be able to high five anyone on the streets!
To Sum Up…
So, how do you teach a dog to shake? Easily!
I hope you won’t have to worry about shaking paws anymore… not after reading this article.
What I want to remind you is to keep the lessons short and simple. Watch your dog’s body language, and stop anytime you notice he’s not catching up.Your Fido might not be the brightest bulb, but learning how to shake is a piece of cake, especially if you end every lesson on a positive note and a bunch of treats.