
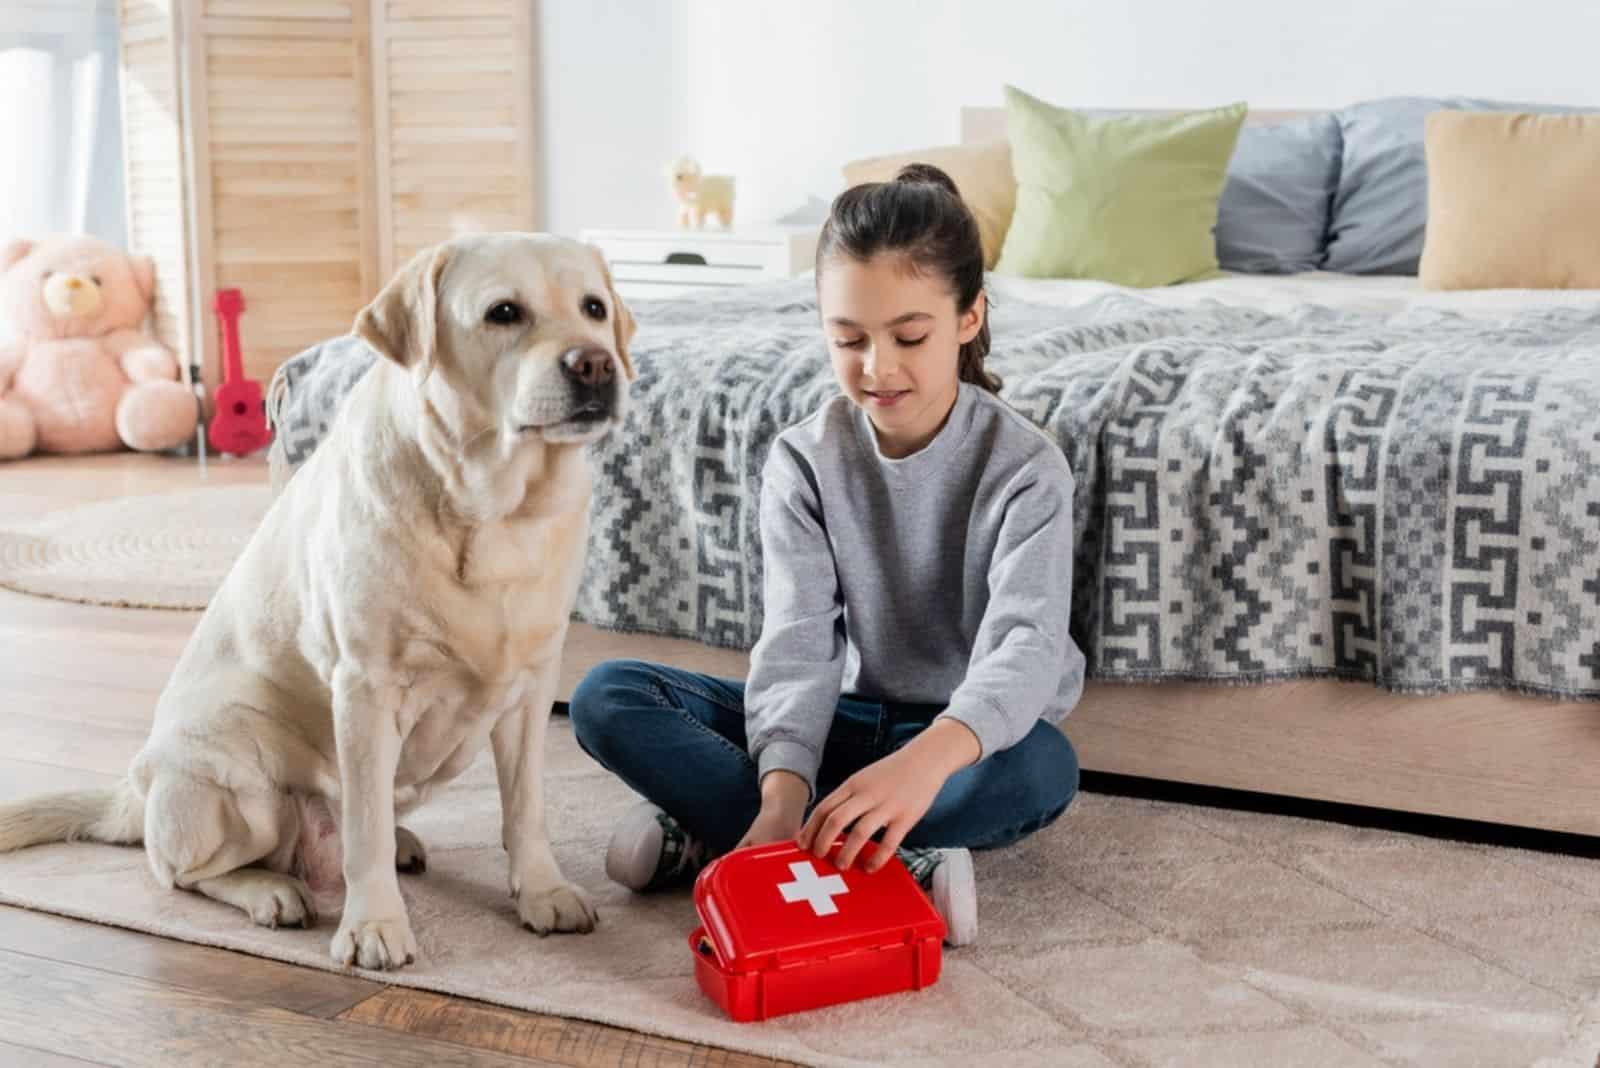
All of us here love our dogs and would do anything for them. But, how many of us are prepared to react appropriately in a medical emergency so we can potentially save his life or prevent further complications with his health?
Well, that’s what this dog first aid guide is for. To help teach you some basics that you can perform on your precious pooch to prevent a play injury.
In worse cases, they’re good skills to know in case of a sudden development of a health issue that could lead to a more serious, potentially fatal outcome.
Believe me when I say that you’ll never regret learning how to perform a Heimlich maneuver on dogs or carrying a first aid kit for pets around whenever you’re with your pooch.
The tools and knowledge you’d carry with you can stabilize your furry friend in case of a freak accident be it an attack from a rabid dog, a sudden flare-up of a particularly nasty symptom.
Now, let’s find out what these essentials are as well as what are some of the fundamental first aid maneuvers that you should learn for your precious pet.
What Needs To Be In The First Aid Kit
The essentials for a dog first aid kit are similar, if not the same to that of one that you’d use for humans, with a few slight differences to adjust for size and the presence of fur.
They are as follows:
1. Non-Stick Bandages
Bandages will always remain the fundamental piece of kit in anything involving first aid.
However, you’ll want it to be non-stick so removing it later doesn’t end up feeling like a real nasty depilation for your pooch.
The glue normally used in regular bandages can also end up making a real mess of the dog’s fur.
Believe me, it can be a real nightmare to wash out, which is why we opt for the non-stick version which is held together by the next essential component of a first aid kit, adhesive tape.
2. Adhesive Tape
There isn’t much to say here what I haven’t said already.
Adhesive tape is necessary to keep the non-stick bandage put and the wrap tight so whatever is injured is kept protected and allowed time to heal, or at least stabilize in case of a more dire wound.
3. Gauze
Another important item to have with you, one that can be applied directly to the wound to help stop any outside bleeding.
It’s also used to help the antiseptic or antibiotic ointment cover a wider area without it getting rubbed off.
It’s usually applied first prior to the bandage and tape.
4. Cotton Balls
Often used as a way to easily apply antiseptic or antibiotic ointments or solutions in a more precise manner.
This eliminates the need of using your hands which can end up being unclean and a potential risk in case of an emergency.
5. Antibiotic Spray And Antiseptics
While similar in function, both are often necessary in case of more serious injuries like scrapes or bites that leave an open wound.
The antibiotic is applied to kill any potential bacteria that may be trying to infect the wound.
Meanwhile, the antiseptic covers a much wider range of microorganisms and helps prevent general infection.
Both are usually applied, especially in the case of an emergency, and the only real downside is a bit of stinging discomfort for your pooch.
Do make sure to get a non-toxic variant though, especially if your dog is prone to licking his wounds.
6. A Pair Of Scissors
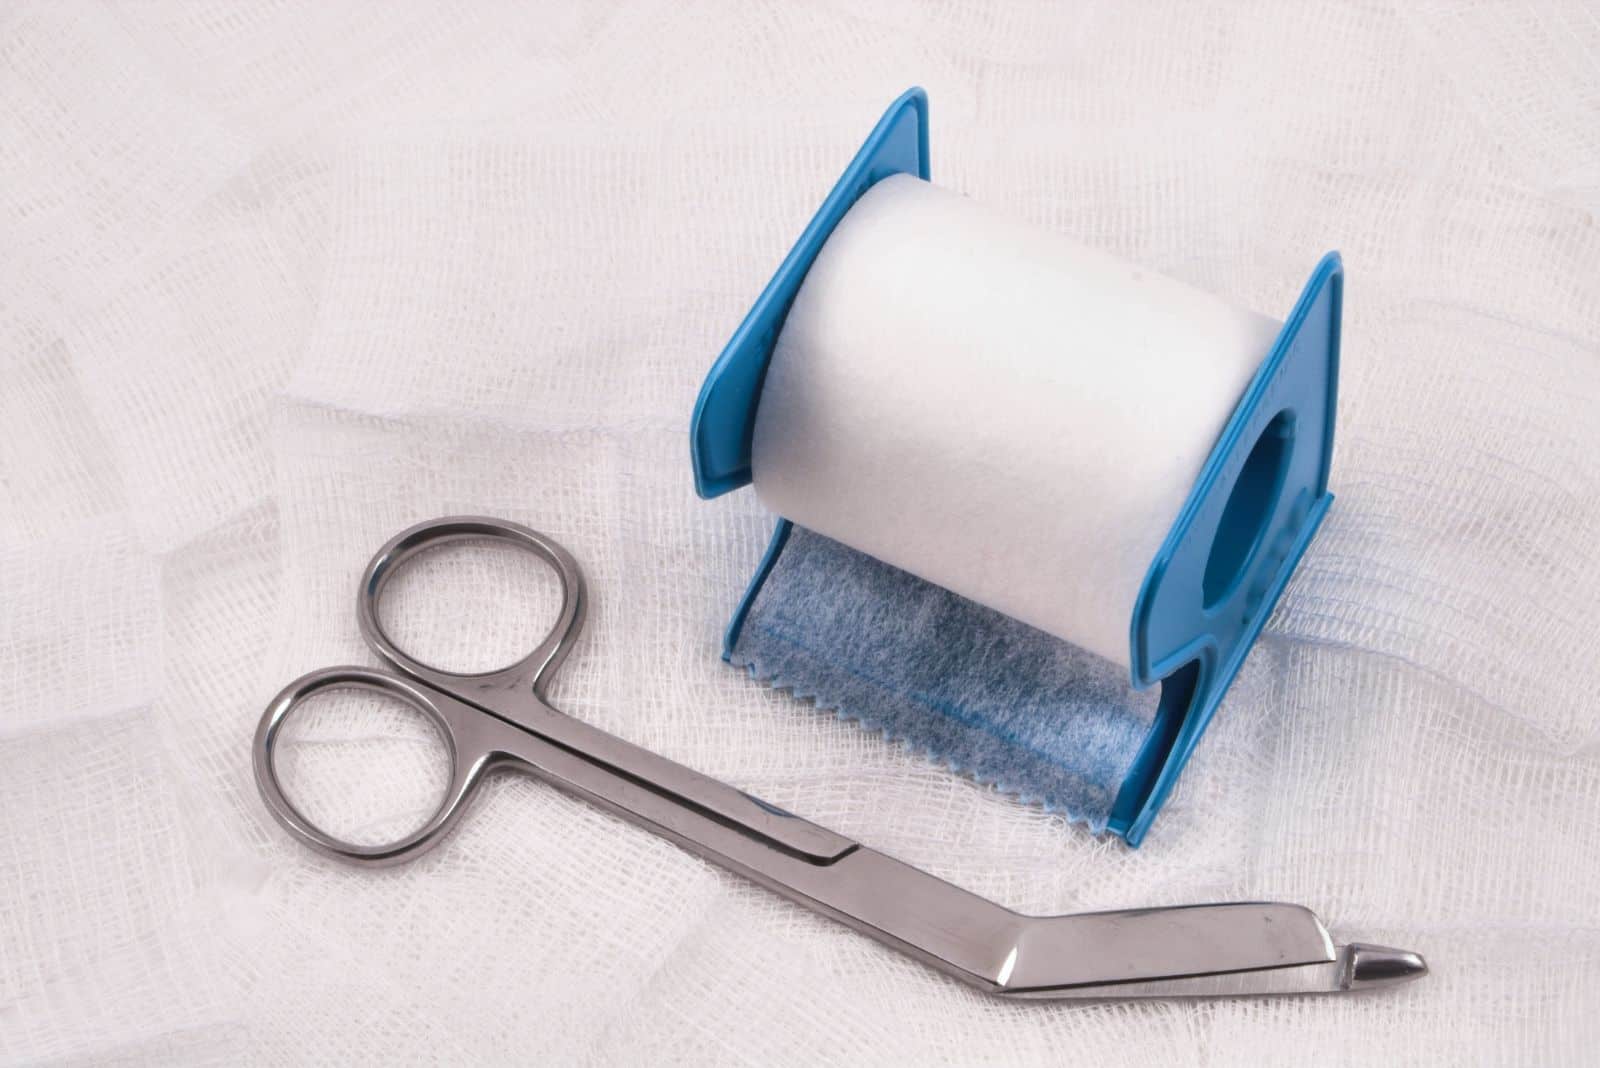
Scissors are always a good tool to have, particularly when dealing with bandages which need to be cut rather than torn.
This will let you get a better fitting size of the bandage that you can scale based on your dog’s own size rather than getting pre-cut ones.
Pre-cut ones often end up being too large or too small for the injury area so the scissor method ends up being the preferred one.
7. A Pair Of Tweezers
Another useful tool, particularly when handling cotton balls to get a better grip and make application of ointments and cleanup easier without tainting the ball with your fingers.
They’re particularly useful when you need to pull a tick off or get a thorn or splinter out that may have jammed itself into his skin.
8. A Syringe
Not the ones with the needles, don’t worry, these ones are meant to be used to help flush wounds out of any dirt or larger debris with little discomfort to the dog.
They’re a great tool in helping provide liquid forms of oral medicine too if need be.
9. A Pill Case
If your dog is taking some sort of medication, you don’t want to bring the whole bottle or several in some cases.
Instead, you want a more compact box where you can stock his doses up so he can take them on the go without taking too much space away from your doggy bag.
SEE ALSO: 11 Reasons Why Your Dog Needs Probiotics
10. A Digital Thermometer
Particularly ones that are a bit tougher and harder to bite through which is why we avoid using the old mercury-based thermometers.
Ones that are flexible and can measure temperature orally.
You never know when you’ll need to get a read on his overall temperature.
That said, it’s worth noting that their base body temperature is higher than that of humans.
It usually sits at around 101 to 102 °F, so don’t get too worried if that’s what your first result ends up showing.
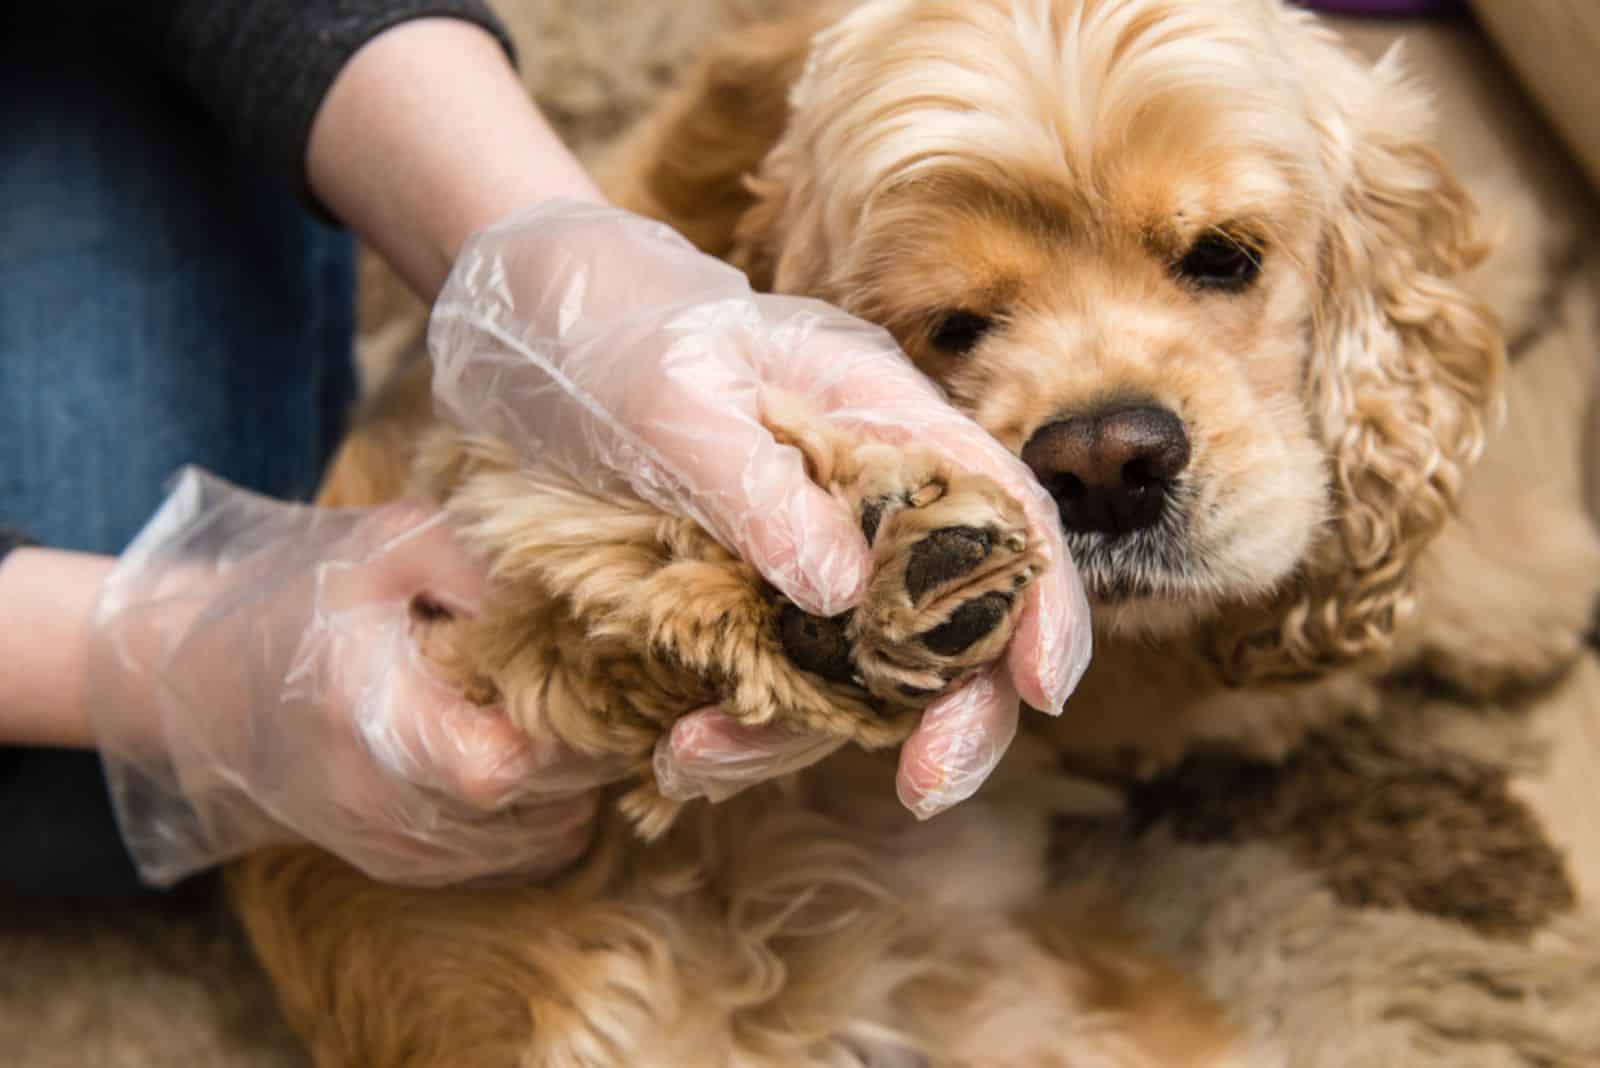
11. Gloves
A good pair of vinyl gloves helps deal with any messy or unclean hands and allows you to manage your dog with less worry that you may end up causing an infection.
You may want to put an extra pair in just in case the first one breaks from the heat of the moment.
What Else Can Be Found In First Aid Kits?
We’ve covered the essentials, but there are still a few items that some people like to put in the first aid kit if there’s any room.
A Blanket
Aside from keeping the dog warm, it can be utilized as a makeshift stretcher to help carry him without causing further injury in case of a particularly nasty accident.
Magnifying Tool
Some sort of magnifier is also a decent utility for the smaller injuries that may need a more precise touch, or when you need to handle tweezers for removing ticks or thorns.
A Towel
A few others use towels, but I personally find gauze to be plenty as far as wounds are concerned.
Add some water on that and it makes for a decent tool for washing off any muck that he may have rolled in.
A Flashlight
Finally, I’ve also seen flashlights in the kits, but if you have a backlight on your phone, you can save up on some space. Just make sure your phone is kept charged at all times.
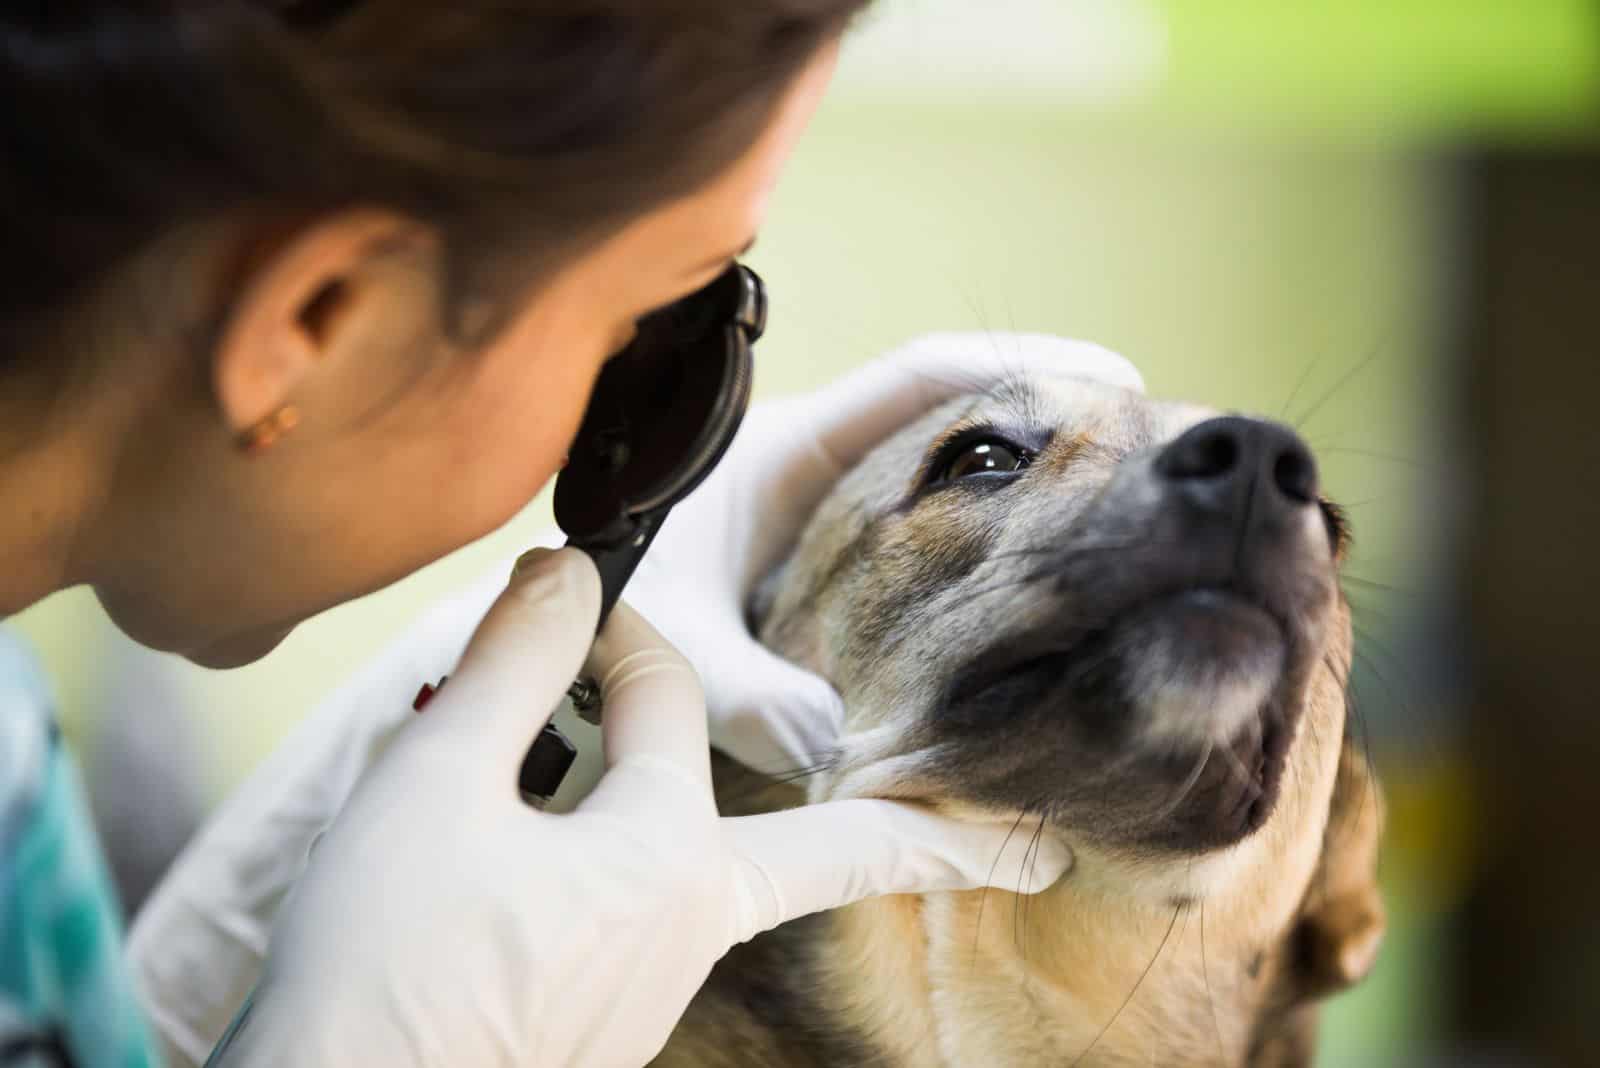
Medical Procedures That Every Pet Parent Should Learn
Aside from making sure you have everything ready, you’ll need to know how to use these tools and how to act when an injury does occur.
For this, you’ll need to learn how to work under pressure as it can get really stressful when you see your little guy in distress.
Take deep breaths and try to focus.
Phoning a vet up should be the first order of business while consoling your doggo, after which you should follow the vet’s instructions carefully.
If the cause of worry is your dog choking on something, you should learn how to perform the Heimlich maneuver on dogs and how to perform CPR [1].
The Canine Heimlich Maneuver
Depending on the size of the dog, the procedure will be different.
For smaller dogs, you’ll want to put him on your lap and get him on his back.
Once that’s sorted, you can use your palm to thrust gently right under his ribcage a few times.
After that, check his mouth if the lodged object is out and repeat if necessary until the choking stops.
As for larger dogs, you’ll need to do a bit more legwork by wrapping your arms under his ribs to lift him up after which you’ll clench your hands into fists and push upward a few times.
Similar to the small dog, but a different approach.
Once done, check if the problem object has reared its ugly head after which you can either pull it out yourself or, if your dog can manage it, let him eject it himself.
Doggy CPR
CPR for our animal friends is similar to that of humans, so if you know one, you should be relatively familiar with the other.
The first thing that you should do is check for a pulse and whether the dog is breathing.
If there are none, then place your hands on the area where the vet instructs you to (the heart for small dogs and the chest for larger ones) and begin with compressions.
You’ll want to be making around 110 compressions a minute on average to try and get the heart pumping again.
Every 15 seconds or so, or after 30 chest compressions, you’ll need to provide 3 rescue breaths to your pooch.
It may be disgusting, but it is necessary.
A rescue breath is done by extending the dog’s neck to help open his airways up, after which you’ll want to close your dog’s mouth and then wrap your mouth around his nose, then breathe out.
Once his chest rises up, you can perform the next one until three are done.
After that, you’ll want to continue with the chest compressions, repeating the cycle until your dog starts to breathe without assistance.
If not, you’ll need to continue until you can get him to a vet to at least try and keep him stable.
In Conclusion
Providing first aid for dogs may feel like it’s challenging, but the biggest challenge often ends up being the stress that hits you in the moment when it all happens.
It often makes you forget everything you’ve known thus far.
After all, it is your furry best friend who’s in trouble and he’s relying on you to help him out.
That’s why, out of all the recommendations here, I advise you to first learn how to keep a cool head.
Manage that and you’ll be the best doggy nurse your pet could ask for.
Until next time, pet parents.
RELATED LINKS:
- 9 Warning Signs Of Worms In Dogs
- 5 Reasons Your Dog’s Dental Care Is Important
- 11 Health Conditions Causing Dogs Ears To Turn Red
- 13 Effective Home Remedies For Dog Joint Pain
References:
[1] American Red Cross Training Services. (n.d.). How to Perform Pet CPR | Red Cross. Red Cross.