
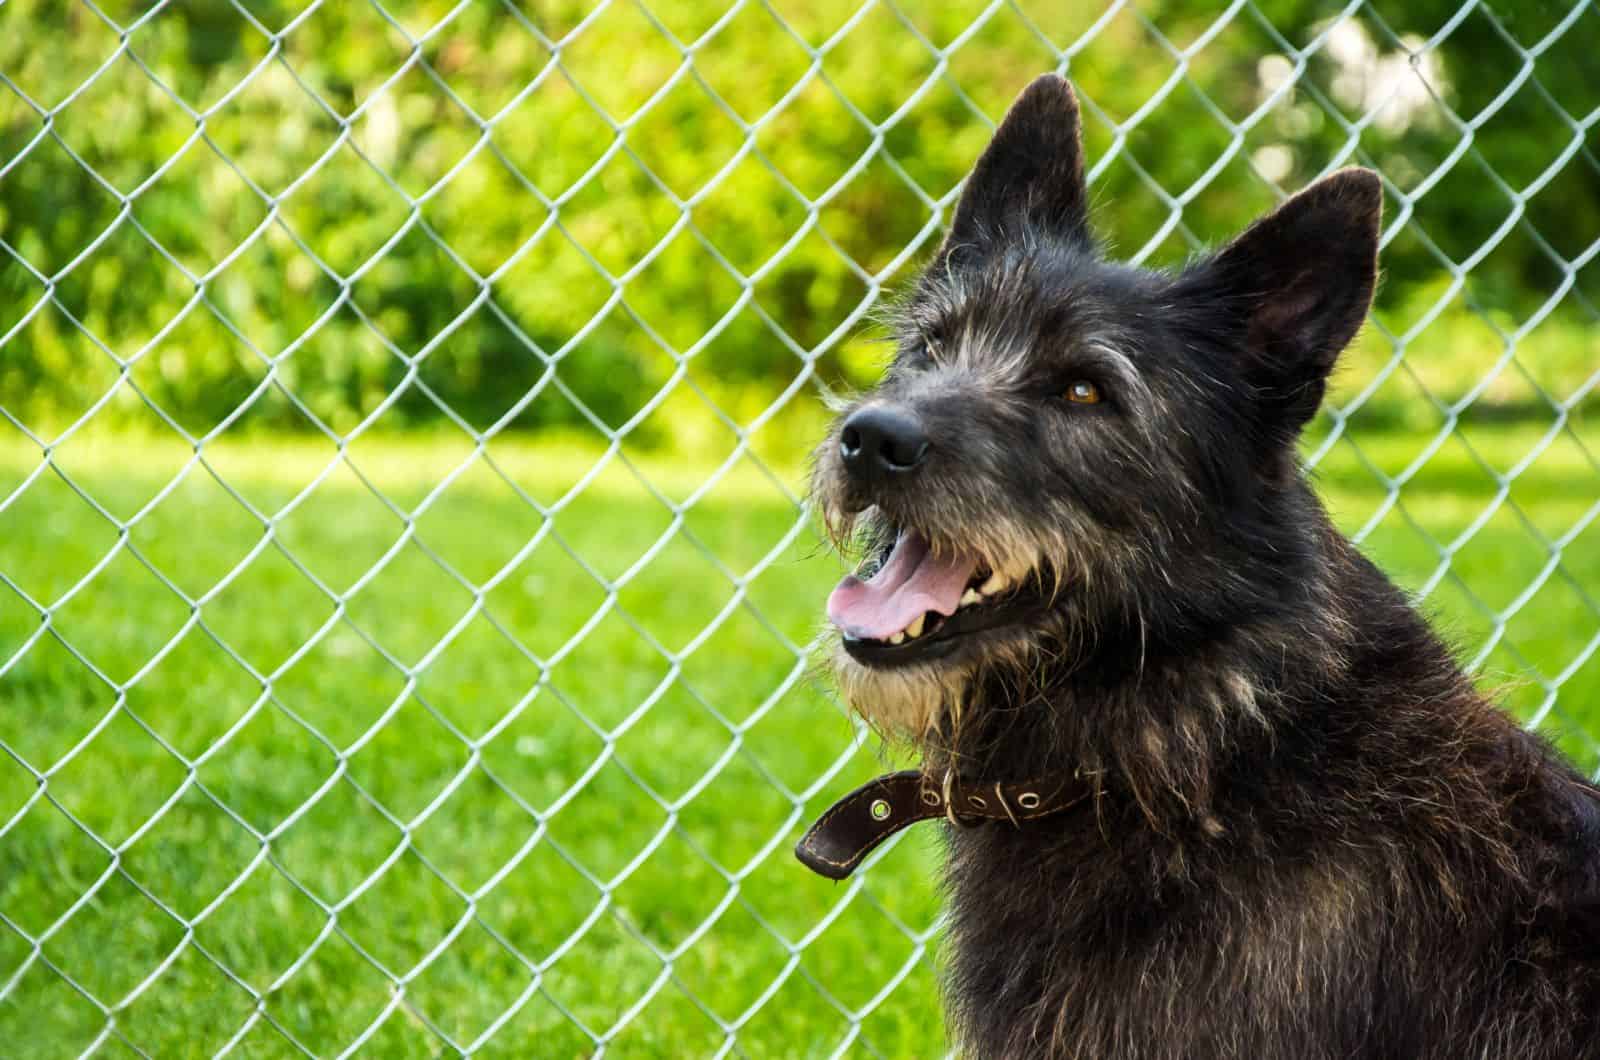
Dog owners shiver when they see their dog giving them the mischief eye at the yard’s edge. This spine-chilling sensation of expecting the inevitable getaway can be taxing on your nerves.
To avoid stress and constant nightmares of your dog simply zooming away into the horizon, I bring you a DIY chicken wire dog fence guide. You will learn how to build a small fortress around your yard while still managing to comfort your wallet.
If you are a proficient DIYer, you will likely enjoy this read. If you are not, then you shall become one. Time to get those arms working.
What Are The Advantages Of A Chicken Wire Dog Fence?
One of the most obvious advantages is the cost. You can get a seventeen-inch tall and thirty-three feet long chicken wire fence for as little as twenty-five dollars. This is the price at Walmart, but I am sure you can find it even cheaper at Home Depot or any home improvement store.
Setting it up is also very simple and not very time-consuming. You will need a few tools and be ready to create a masterpiece. Getting the physical exercise from carrying, pulling, and setting the posts will be a welcome addition to all of us who work behind a desk.
Since it, ideally, is a two-person job, you can spend time with your friends or family making something useful. The result will be satisfying to look at while providing your mind with the comfort of knowing your dog will not be pulling a Houdini.
The most commonly found chicken wire fence has holes shaped like a hexagon, so the visual appearance will satisfy even the most aesthetically demanding dog owners. The posts are easy to spray paint, but the mesh can be quite time-consuming. It is thin, so you can leave it as it is.
Compared to traditional fences with larger cutouts, the chicken wire dog fence will be puppy-proof while being good at keeping small adult dogs or other small animals inside your yard. Even larger dogs will have difficulty getting under or over it.
Your dog will thank you too. A fenced yard means you can unchain your dog from that annoying collar and forget about it, pondering what lies beyond. Are there downsides to a chicken wire dog fence? Yes, there are a few. Let us go through them.
A Chicken Wire Dog Fence Is Not Good For…
Primarily those with large yards because the fenced area will be much bigger than in small yards. You will need many more posts, which means more mesh stretching, material, and time, especially if you plan to make a wooden frame.
You will need help with the post placement, hammering them in, and tightening the mesh. This is because longer mesh rolls tend to roll or simply deform while you stretch them.
A Word About Materials And Tools
If you are excited about this DIY project, you absolutely should be. Doing work with your own two hands always gives a feeling of accomplishment. However, you do need a well-laid-out plan to follow in case you prefer that to winging it.
A DIY dog fence will take at least six to eight hours if you already have some experience (and a small yard) and perhaps an entire day if this is your first attempt. Do not be discouraged, though — this tutorial was written to make things easier for you, not harder.
Wooden frames will take considerably longer to finish because you will need to create the frame for each section. Keep in mind that, for a large yard, you will have to create many smaller frames, which means more junction points equalling more weak points.
Choice Of Material
There are a couple of options in terms of materials you can use for posts. The two main options are wooden posts or metal T-posts. Both will cost around the same ($5-$10 per post), but I recommend using the metal ones due to their ease of use.
Wooden posts are not bad by any means, and they can be more pleasing to the eye if you prefer a natural look over the metal’s industrial style. Both metal and wood are fairly resistant to the elements, but quality wooden posts will fare better if pressure treated.
The structure of the metal posts allows them to be thin but strong. This can be useful in tight corners where there are trees, bushes, or the neighbor’s fence. Wooden fence posts have to be thicker for stability, but they can be set without using concrete (unlike metal posts).
When it comes to the mesh, generally, you will see two choices of material: iron and steel. Steel is more durable, while iron can be cheaper if you are fencing a large yard. Iron is susceptible to corrosion and oxidation, so you might want to consider that.
Many kennels have chicken wire dog fences made out of iron because it saves money in bigger-scale projects. I would advise you to go for the steel mesh simply because you will not be making 150 kennels but one well-built yard fence. Savings on the mesh fencing would be negligible.
Last but not least, with metal posts, you should always fill the post holes with concrete, and this will provide much more support than simply sticking it deep into the ground. The thin metal posts will likely move inside the base and widen the hole.
If your dog sees wiggle room, it will not be long before you see the fence on the ground with the post beside it, especially if it is an untrained Belgian Malinois. Quick-set concrete sets in within a few hours, while standard concrete takes twenty-four hours to become solid.
Tools And Materials You Will Need
Whether you choose metal or wooden posts, the list of tools and materials will be almost the same. Here is a checklist of everything you need before getting to work:
• measuring tape
• small wooden sticks (or anything longer than 10 inches that can be stuck into the ground)
• rope or spray paint
• screwdriver or battery impact driver with proper screw heads
• staple gun and hammer
• wire cutters
• wood saw, or circular wood saw
• screws and nails
• copper wire (optional)
• sledgehammer
• post hole digger (an auger or spade)
• post driver
• metal T-posts or wooden posts (4×4 or thicker recommended)
• wooden planks (not thinner than 1.5 inches)
• a dog that wants to jump the fence
Go through the checklist twice to make sure you have everything listed. My advice is that you do not disregard any of the tools or materials from the list. Every single piece has a role to perform, and using them all will make sure the fence is sturdy and good-looking.
Creating The Ultimate Chicken Wire Fence For Dogs
1. Measuring And Marking The Ground
Do not rush to get the measuring tape first. Your yard is likely bigger than its maximum length, so you will not get much use out of it.
Instead, take those wooden sticks or whatever alternative you got your hands on and stick them in the ground at the places where you would like your fence to be. This way, you will have a rudimentary representation of what the fence will look like.
If you prefer a more modern approach to measuring and marking, use spray paint to draw the lines where your fence should span around the yard. If you have grass or flower beds, make sure you use something that is not toxic to the vegetation.
After you set the perimeter, take the measuring tape and measure the distances between posts. Your posts should not be more than six to eight feet apart. If you want a more solid construction, then you can add one more support post between each main one.
Take into consideration the height of the fence too. You do not want it too low so that your dog can jump over it. It would help if you saw how wide the mesh rolls are before putting the main posts in. Narrower rolls mean that you will have to stack two vertically on the posts.
2. Digging The Hole And Setting The Posts
Once you have your measurements in place, double-check them. My father always told me, “Measure twice, do once.”, and the advice never failed me.
The first step for setting the posts is to dig holes. You can use an auger or go full manual with a spade. The hole will have to be at least a third of the post length deep if you are not using concrete.
If you are using wooden posts without concrete (I strongly recommend using concrete regardless of material), it will depend on how high you plan your fence to be. This is why there is no definitive hole depth for all posts.
For metal T-posts, use a sledgehammer or post driver to stick them deep into the ground. Again, I advise digging a hole and pouring concrete into it, and then fixing the post in the concrete with four pieces of wood so that it stays centered.
To center the post, make a hashtag sign with the pieces of wood or metal so that the metal post is in the central hole of the #. Use some weights (water canister or brick) to prevent the wood from moving while the mixture is still liquid.
You should use four-by-four wooden beams, but do not go lower than two-by-two. You might save a couple of dollars, but it can compromise the structural integrity of the entire fence.
Depending on the size and strength of your dog, you can go thicker than the recommended four-by-four but never thinner. Once you have them properly positioned, it is time to pour some concrete into the hole.
Note: Optionally, you can dig a channel from one post to another to insert the mesh and/or frame into. That way, you can stop your dog from digging its way out. Make sure to fold the mesh in an L shape and away from the inside of the fence to prevent injury to the dog’s paws.
3. Concrete Mixture
Make sure you read the instructions for mixing the concrete. Quick-set concrete can be poured into the hole without previously creating the mixture with water. However, the water-to-concrete powder ratio should, in most cases, be two liters per forty-five-pound bag.
If you are using regular concrete, the ratio is 1:2.5. That means that water should make a little less than half the mixture. Make sure that the hole is wide enough so that a centered post is at least sixteen inches from the edge of the hole.
For quick-set concrete, wait for about two hours (despite it saying one hour is enough). Regular concrete should be rock solid after twenty-four hours.
It is essential you do not start tightening the mesh too soon because the post might move, and then you will have to wait another day for it to dry.
Wooden posts will require a wood preserver layer over the part that goes into the concrete. The chemicals that bind the mixture can damage the wood which can cause it to rot and compromise the stability of the entire fence.
4a. Making The Wood Frame (Skip If Using Metal T-Posts)
Alright, so this will require a little more measuring and cutting. When measuring the planks that make the frame, do not cut the horizontal ones too long because they might break. The length you can cut them to will depend on the thickness of the plank.
If the planks are at least 1.5 inches thick, you should be able to fit two frames between your main posts. In case they span too much, consider adding some support posts under the weaker parts. These do not need to go deeper than eight inches into the ground.
While holding the structure in place, align the edges of the planks or beams and hammer in long nails (longer than the thickness of the wood) at a forty-five-degree angle in the inner corners. Do the same with the outer part of the frame, but this time without angling.
Use screws that are long enough to go through the post but thin enough not to split the plank. A great way to avoid worrying about the thickness is to use the same type of beam for both frame and posts. You can use the planks decoratively to hide the mesh.
Check to see whether the frame is flimsy. If it does not wiggle or slide out of place, you are good to go. Alternatively, you can also create grooves and edges on the ends of the beams. That way, you can fit one end into the other, add some wood glue and then do the nails and screws.
Fixing The Mesh Onto The Frame
Once you cut the planks to the wanted height and length, you should grab the measuring tape and wire cutters. When cutting the mesh for the frame, make sure it covers the entire area of the frame, all the way up to the edge.
Do not cut the mesh without work or gardening gloves. After cutting the mesh, use the staple gun to put the edges in place. Make sure to tighten the chicken wire as much as possible before fixing them to the wood. You can also bend and hammer in small nails if you do not have staples.
Staple or fix the mesh with a nail at every hole to make sure there are no weak points. If you are feeling fancy, you can also put a thin plank over the mesh to hide it. Fix it in place with nails and screws for a solid connection.
Adding A Gate
If you are making a backyard fence, you can decide that a fence is not necessary. However, if you are partitioning your yard to include the dog house, you might want to add an entrance.
It is as easy as screwing a couple of hinges on the post you designated as the dog’s exit into the world of humans. Bear in mind that you will have to make a frame segment that will be used as a gate.
The hinges should be hefty and strong to hold the gate without problems. You can make the gate frame from thinner wood, but that might give your dog the opportunity to exploit the weakness.
4b. Fixing The Mesh Onto Metal T-Posts
All metal T-posts have hooks that you essentially hang the mesh on. Though they work well enough, I recommend using some copper wire to tighten the mesh to the posts.
Copper wire is sturdy enough not to break but flexible enough to tighten properly. Again, it is important to stretch the mesh roll so that it does not bulge or bend. Keep it tightly wrapped around the post.
Corner posts are crucial if you choose to work with metal. You do not have the flexibility of a wooden frame to keep the mesh tight regardless of angle. Go from post to post and tighten the mesh at each point as you approach a corner.
Once there, bend the mesh into an L shape at the appropriate length before hanging and tightening it to the post. This way, the chicken wire will be level with the post and not protrude like a stomach.
Some metal T-posts do not have a closing mechanism for the end post, so you will have to leave a few inches of excess mesh to wrap around the post.
Wrapping it once around the post and fixing it into place with copper wire will be good enough. Use the hooks to keep it in place before tightening.
If the end post does have a closing mechanism, it will usually involve the use of screws. Still, if you feel like your dog is strong enough to rip it out, tie some copper wire at each hole for a stronger fence.
Alternatives To Chicken Wire
Although it is great for building DIY fences, it is not the only option. It is the best overall choice, but you can use something like a welded wire, baling wire, or chain link fence. For those who love woodwork and DIY without fears of expenses, a wood fence is perhaps the safest option.
Welded wire is incredibly strong at the seams, and if one joint breaks or is cut, the whole mesh will retain its structural integrity. Repairing the broken part is possible by welding it back together. With the other mesh types, you cannot restore them to their original state.
A welded wire with holes small enough for the dog not to squeeze through would be the best choice among all of the meshes. However, it can be significantly more expensive than chicken wire.
Baling wire is good for cattle or horses but not so much for dogs. It is durable, but there would be gaping holes in it through which a small dog could easily jump through. I would say you should not consider it as a DIY option at all.
Summary

I hope your dog’s territorial exploration tendencies will be kept at bay with this short DIY chicken wire dog fence project. Building it will make you sweat, but in the end, it will all be worth it.
One final piece of advice — if you can, use metal posts because your dog is almost certainly going to pee and poop on them. Wood retains smells much better than metal. At least it will not be pooping inside the house.
Bob The Builder over and out!