
When I first got a dog, I had no idea how to take care of him. Bear in mind that I was 18 years old at the time and had no previous experience in dog grooming or dogs whatsoever.
My family did own dogs, but it was my dad’s duty to walk, wash, and feed them.
I was there just to enjoy their company and play with them.
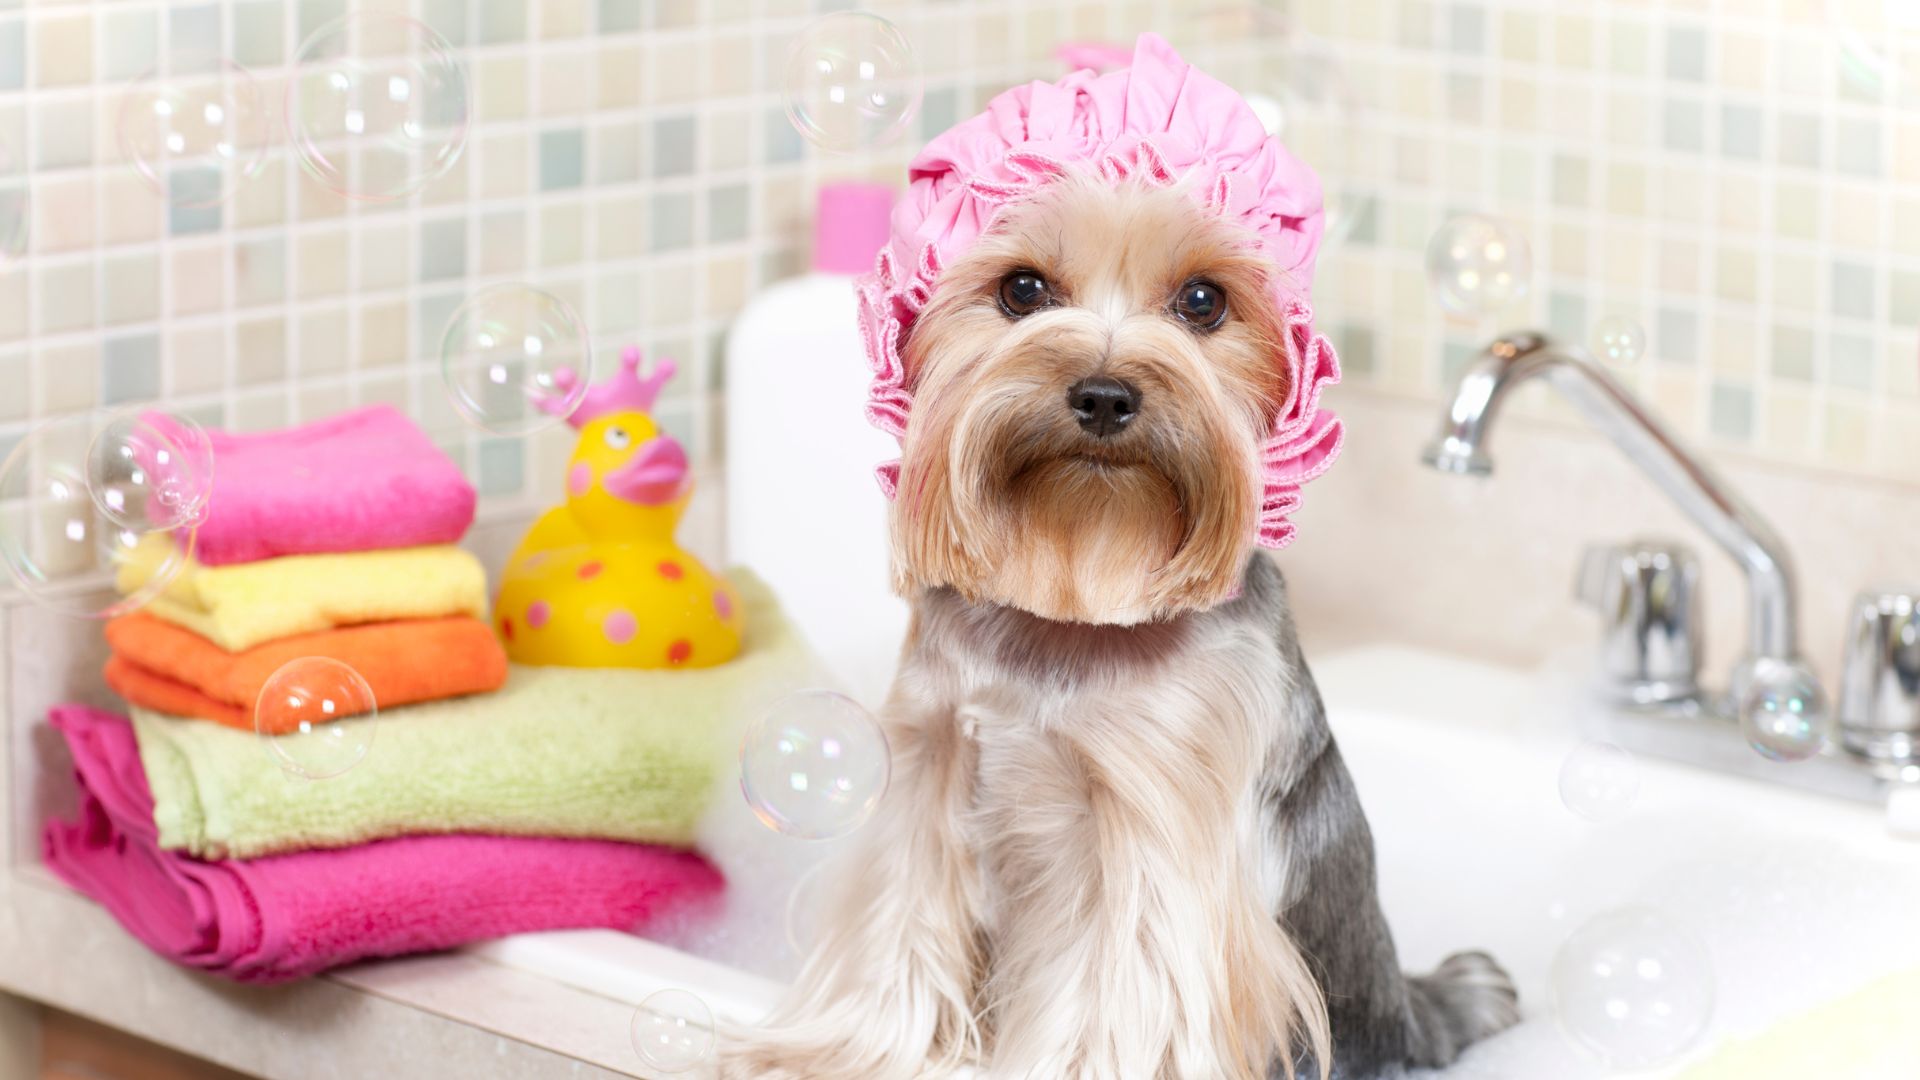
When Timmy, my half Labrador-half Golden Retriever, heard that he had to get a bath after rolling in the dirt, he wasn’t thrilled. Timmy was a rescue dog from the shelter, and they already warned me that he had a bit of a temper and hated bath time.
The 10-month-old pup was so dirty, covered in mud and freshly-cut grass, that I almost wept.
But, I didn’t waste our precious time because I was afraid the grass would stain his yellow coat. Yes, grass stains on a light coat are a thing… look it up!
So, I went online and Googled how to give this dog a bath.
Let’s just say it ended with both of us in the tub and it took me several hours to get him clean and dry.
Today, many, many years since the first bath, I know better. After all, I am a professional groomer.
And, I’m here to show all you first-time owners that taking a bath can be a walk in the park instead of a run.
In just 5 simple steps, here’s how to get your dog nice and clean.
Step #1 The Pre-Bath Prep
One of the biggest reasons why my first bath was a failure was because Timmy had just started playing in the grass and dirt. He wasn’t out for 10 minutes when I noticed him all covered in dirt. I abruptly ended his playtime, and that was a huge mistake.
I then dragged in an energetic dog that didn’t have his daily exercise, and started washing him.
You can put two and two together and figure out what happened next.
Timmy was full of energy waiting to be drained. Of course, he jumped in and out of the bath, barked like crazy, wiggled, and tried to escape me.
Bath time should come only AFTER your dog has its daily exercise routine. Trust me… you don’t want an energetic dog in the bath, ever.
I even advise my customers to bring in their pups after their routine so they’re nicely tired out.
If you’re still teaching your dog to adjust to your habits, I suggest you introduce him to the bathtub slowly. Make sure he associates it with something nice, like getting treats.
You two can even play a fun game of getting in and out of the bath, so when the time for the actual bath comes, he’s not afraid to jump right in.
Gradually introduce him to the water inside the tub. Start with just a few drops, then move to a significantly larger amount so he knows it’s the place where he’ll get wet.
At first, every dog should react with rejection, but sooner or later, he will associate it with something that is normal.
A pro tip I have for all you first-time owners is to wash your dog’s paws after walks, right in the tub or your shower. Dogs learn better as pups, so installing good habits is crucial while they’re still young.
Step #2 Gathering Supplies
Of course, I forgot his towel.
Of course, I forgot his comb.
Of course, he had to jump out of the tub right after I left to get them.
And, of course, it made a terrible mess.
Every time you’re planning to bathe your dog, you should gather all your supplies and keep them right where you can reach them.
If your dog is still not impressed with the idea of bathing, you can buy a sticky mat with suction that can be attached to the wall. I like to smear peanut butter on it so my dog licks it and stays calm as I wash him.
It. Works. Wonders.
I like to place a towel at the bottom of the tub so it’s not slippery for my dog. You can do this, too.
Besides that one towel, grab a few more, depending on the size of your dog. Usually, it’s 2 to 3 towels.
Don’t forget his brushes and combs, as well as one of the most important supplies: dog shampoo and conditioner.
Keep in mind that dogs should not be washed with anything other than specialized dog shampoos. Don’t use baby shampoos or even those designed for humans because they can cause severe irritations.
It’s up to you to pick your favorite dog shampoo and conditioner. However, I like to recommend those with natural ingredients. I don’t have a favorite brand, but I do like it when shampoo has natural oatmeal extracts since it’s super soothing for their sensitive skin.
Step #3 Protect The Ears
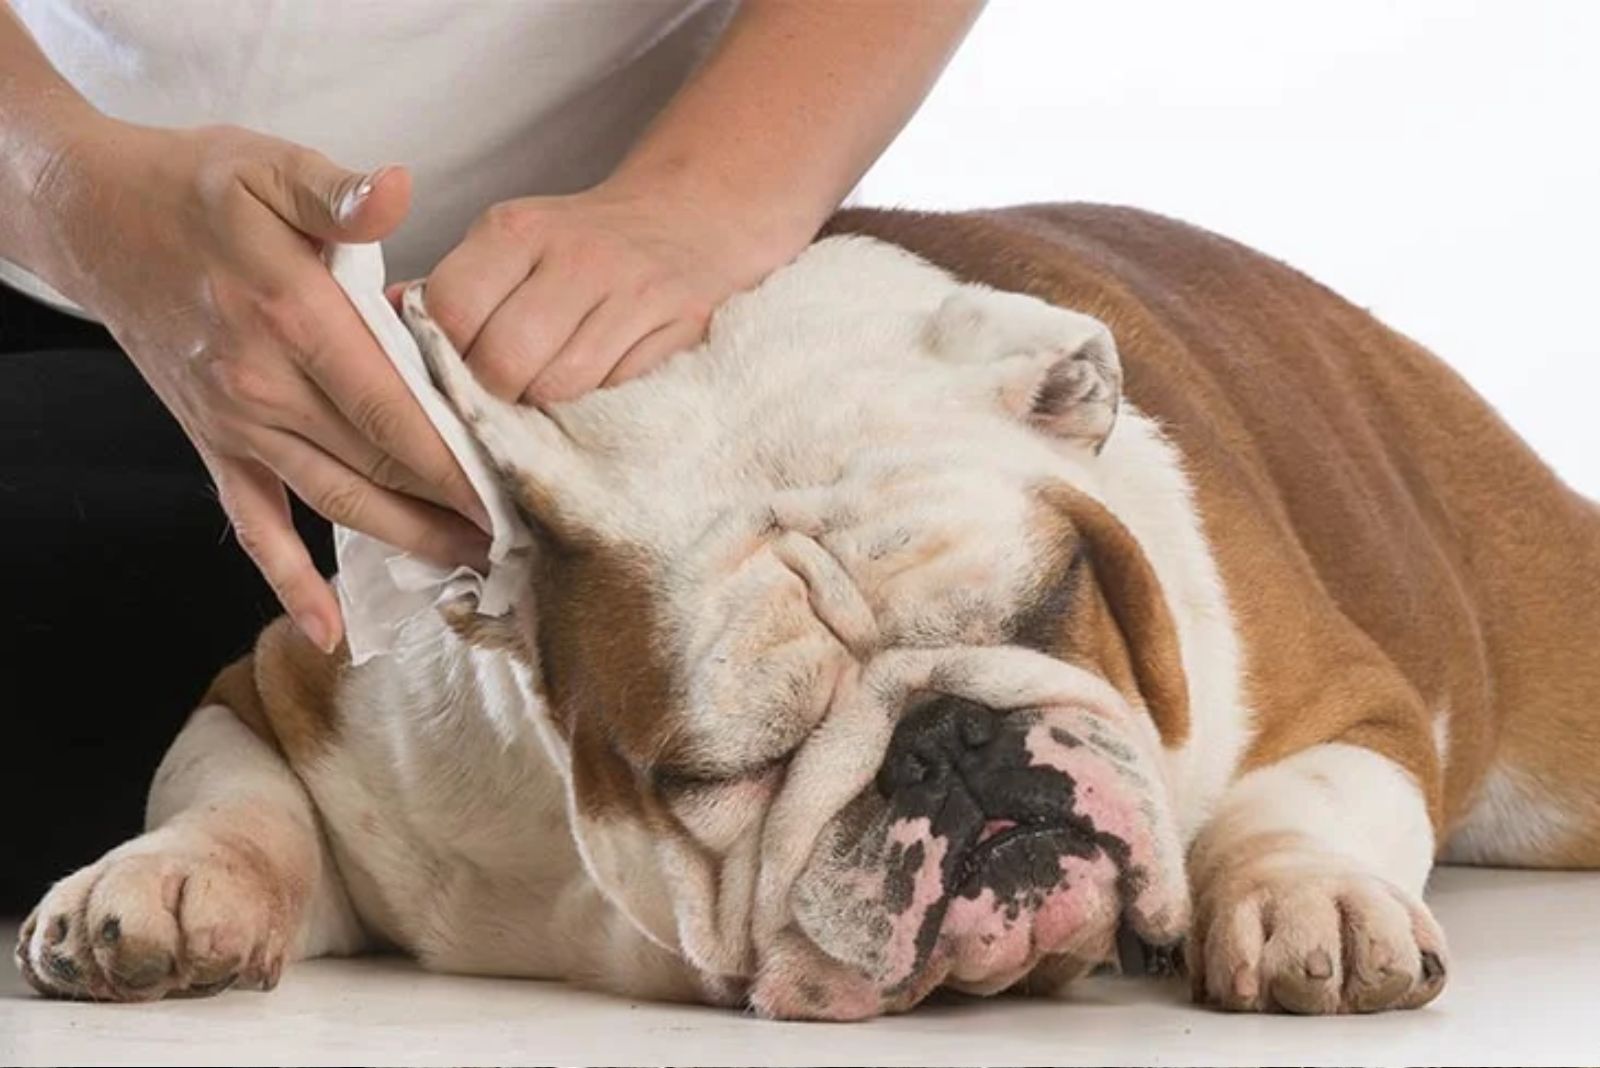
Keeping a dog’s ears safe from the water is extremely important because ears are pretty sensitive and prone to infections.
When water gets inside the ear canal, it creates a moist environment, perfect for bacteria development.
Stick some cotton balls into your dog’s ears so the water doesn’t get inside.
While you’re giving your dog a bath, it wouldn’t be half bad to clean his ears, too.
I have a great piece of advice for you regarding canine ear cleaning.
Step #4 Lather, Rinse, And Repeat
Before you wash your dog, you will have to brush his coat first. Why do you think I mentioned brushes and combs in the first place?
You must brush your dog to get rid of all the dirt and debris, as well as matted fur and knots. If you wash your dog without brushing him first, no one could guarantee that you will wash off all the dirt, too.
Also, it can be quite painful for pups to get washed while they have so many tangles in their fur.
Only when your dog’s coat is brushed completely, without any knots or dirt, can you proceed to the washing part.
You will need to get your dog thoroughly wet in order to wash him properly. The amount of water you’ll need depends on whether your dog has a double or a single coat. No matter the coat type, the water used should be lukewarm… never too hot and never too cold.
I suggest you fill your tub (if you own one) half way up so you can submerge your dog in the water and wet his coat completely. Those of you who don’t have a tub should soak the coat by using a pitcher or the shower nozzle.
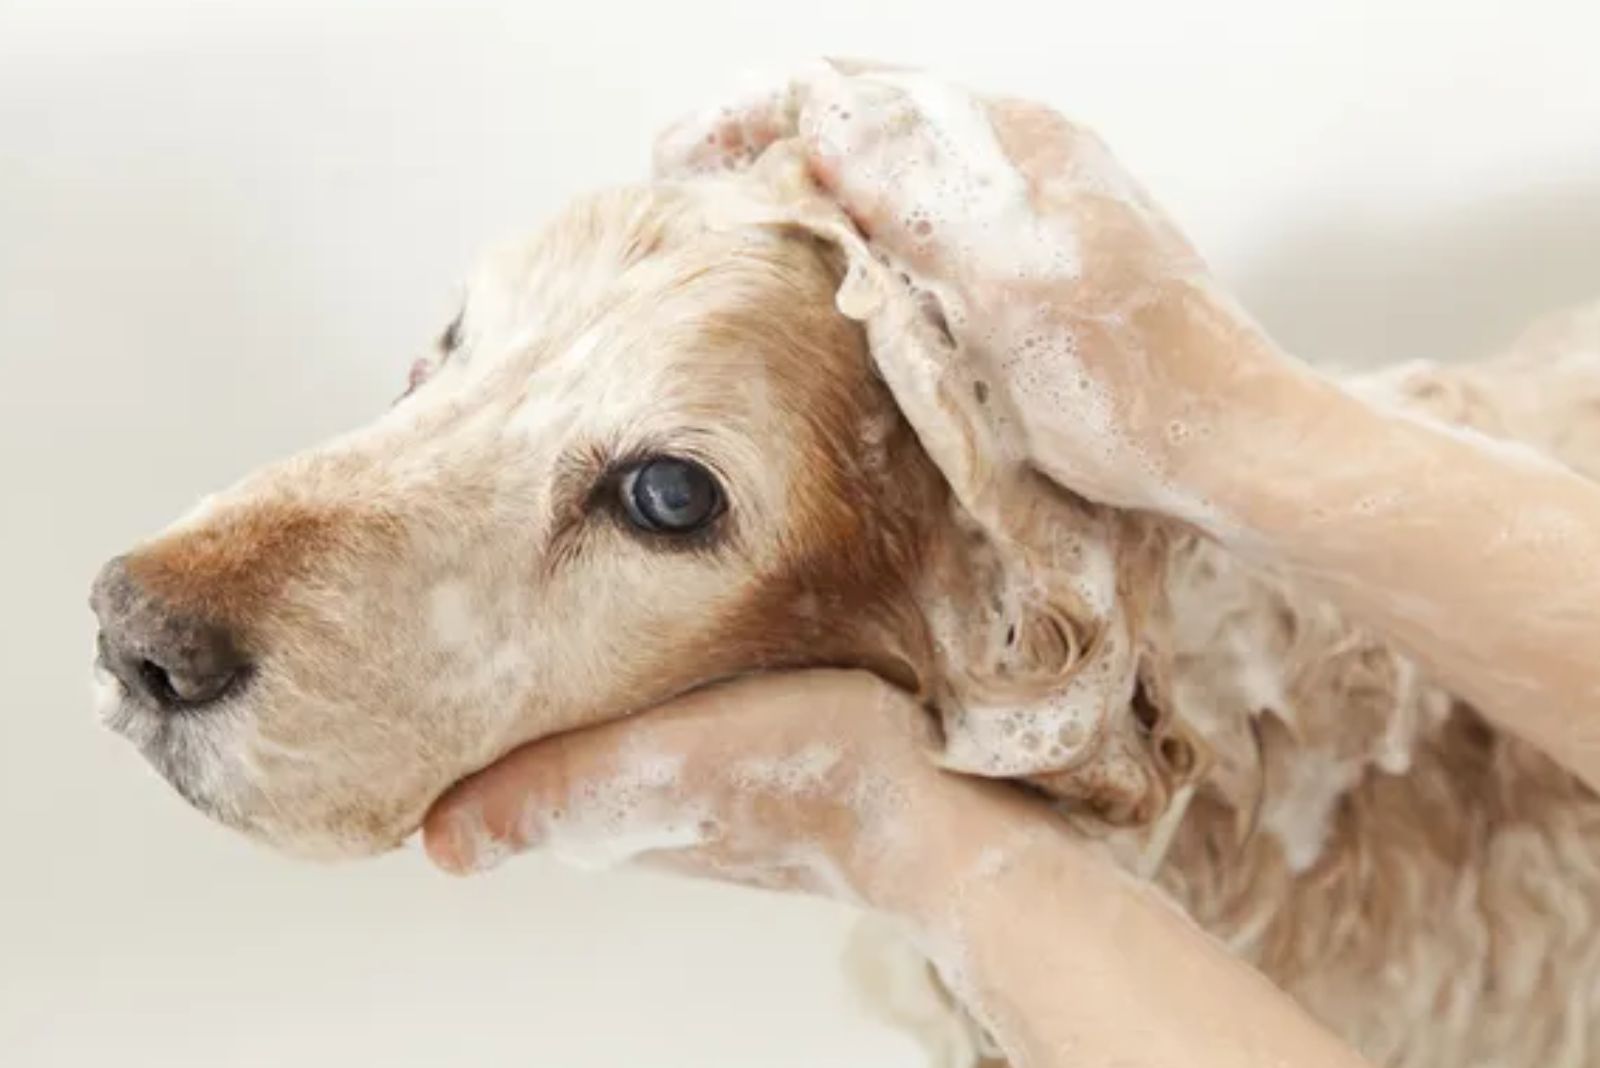
Once your dog is completely wet, you can proceed to the shampooing part. Make sure you lather nicely and clean every part of your pup’s body, especially his paws, tail, and the mane if he has a thick one.
After shampooing, rinse so there’s no soap left in the coat. Always work your way from up to down… from the head to the bottom and toes. This is probably the longest part of the bath, but it’s absolutely important not to cut time.
If there is any soap left in your dog’s coat, it may cause irritations and even skin infections!
Some dog owners also love using dog conditioner to make the brushing part go even smoother.
This is an optional step. It can hurt your dog, which can only make things worse.
You know how they say: lather, rinse, and repeat.
So, the same procedure can be applied to using conditioners.
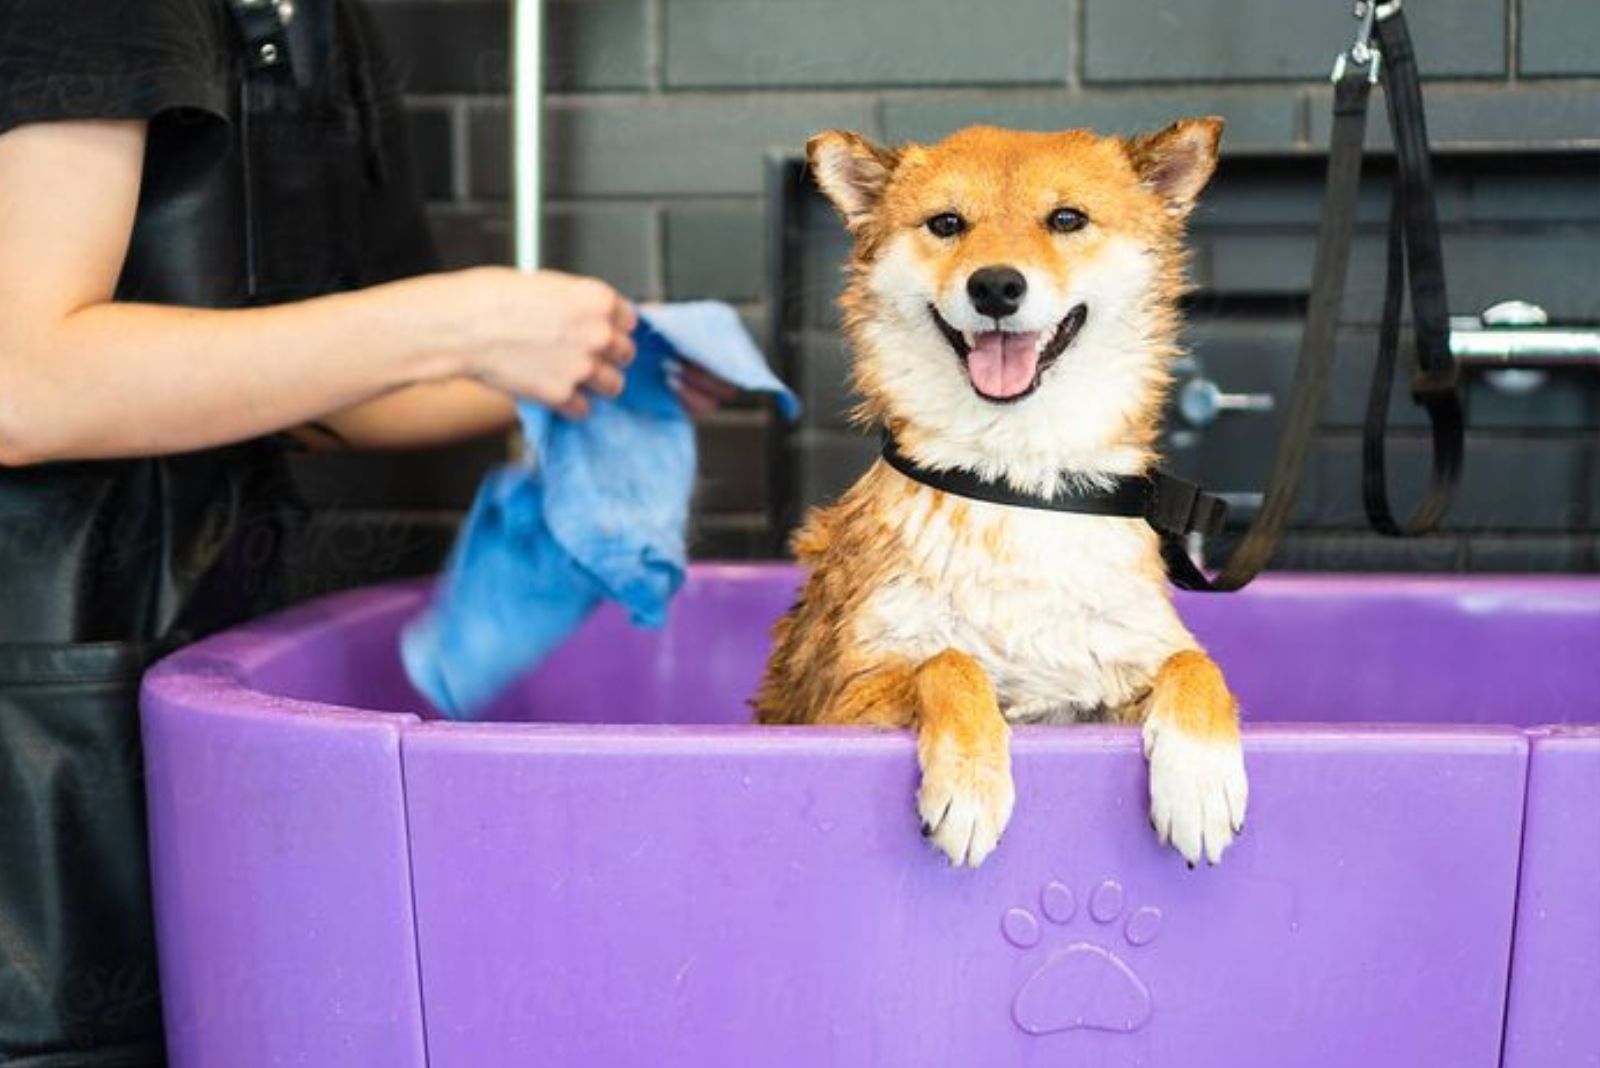
Now that your dog is squeaky clean, it’s time to dry him off.
Step #5 Finishing Touches
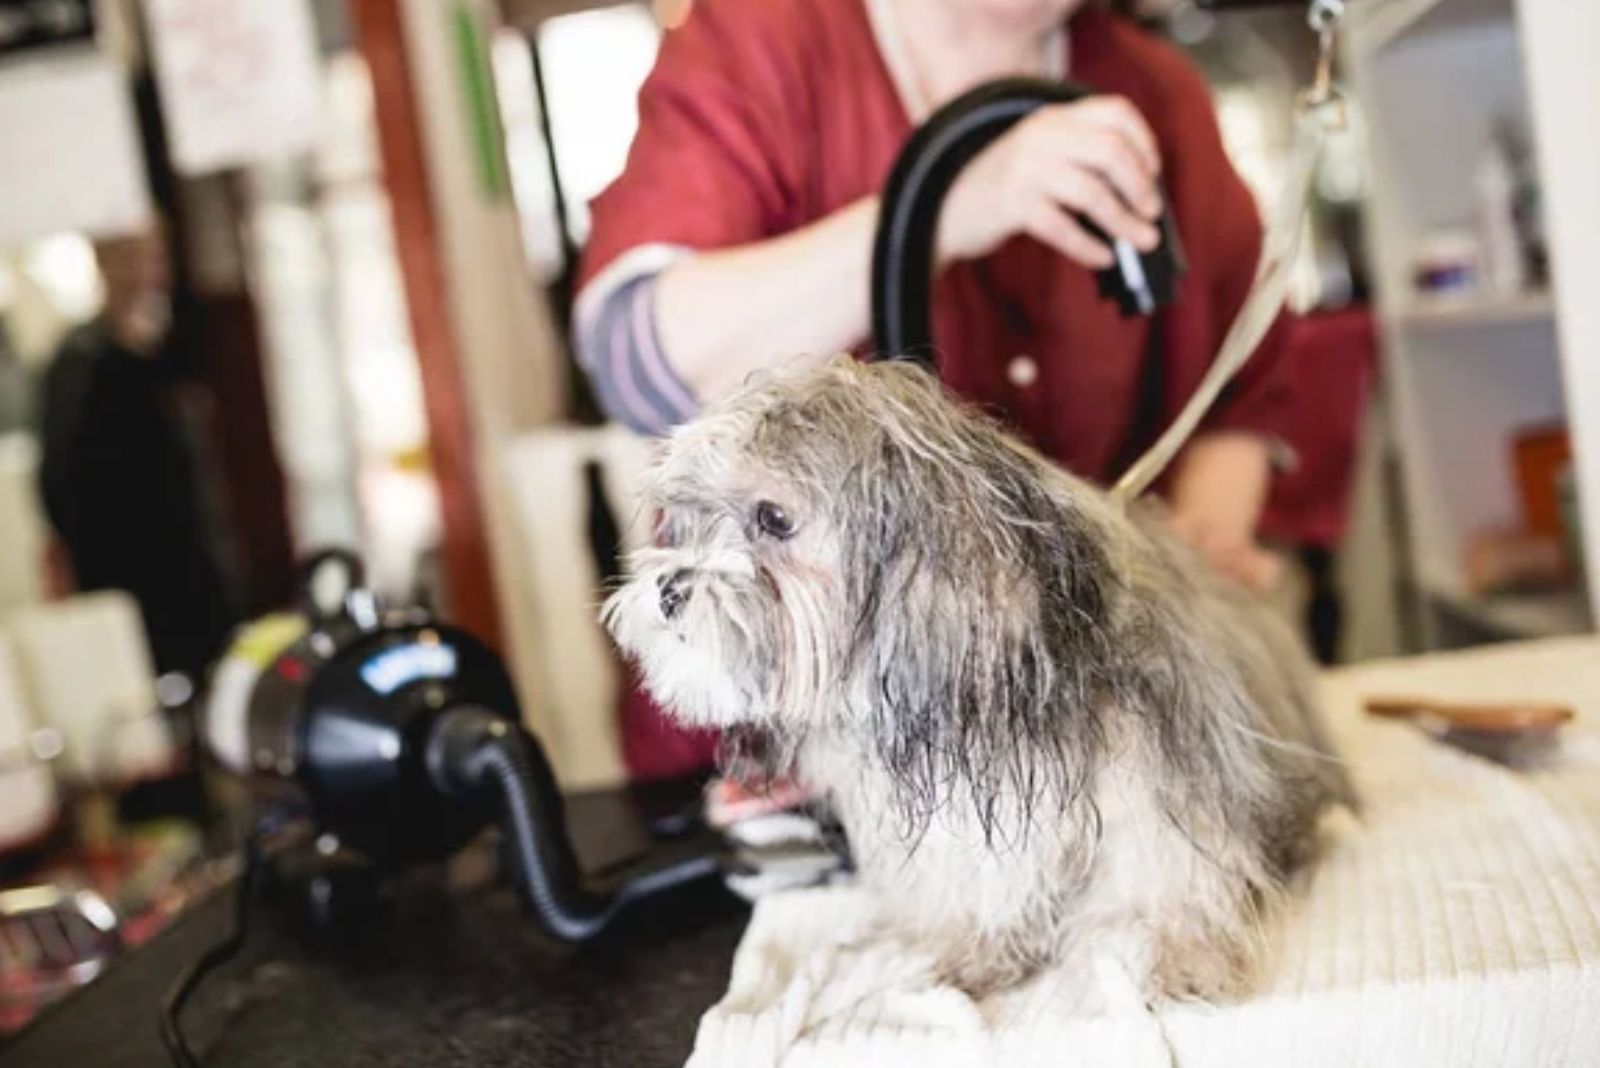
This is where those towels come in handy.
As soon as you finish washing your dog, you should dry him off completely, so he doesn’t get cold. There’s always the drying option of using a blowdryer on the cold setting, but that depends on whether your dog is afraid of it or not.
Using a hot setting could damage your dog’s coat and cause skin burn.
My dogs prefer the natural drying way – with towels, and then snuggled in a blanket for the rest of the day.
I do have to warn you that if you don’t dry your dog completely, and leave his coat damp, that could also cause skin infections. Once again, bacteria loves warm and wet places.
Once your dog is all clean and dry, you should reward him for being such a good pooch. Yummy treats, cuddles, and kisses are always the best kind of rewards!